The Story of My Desk
I've been searching for the perfect desk for the past few years. It took a while to even figure out what that is. I tried a few standing setups, but found that I'd rather "opt-in" to standing and only do it a few hours a day at most. My desk needed to be sturdy, beautiful, and just the right size.
The stingy and stubborn side of me kicked in whenever I shopped around. The desks that came close to what I wanted were over $400. Eventually, I decided to just build my own. The problem was that I had no idea how to build it. This is a story about tackling the unknown and persisting until it's done.
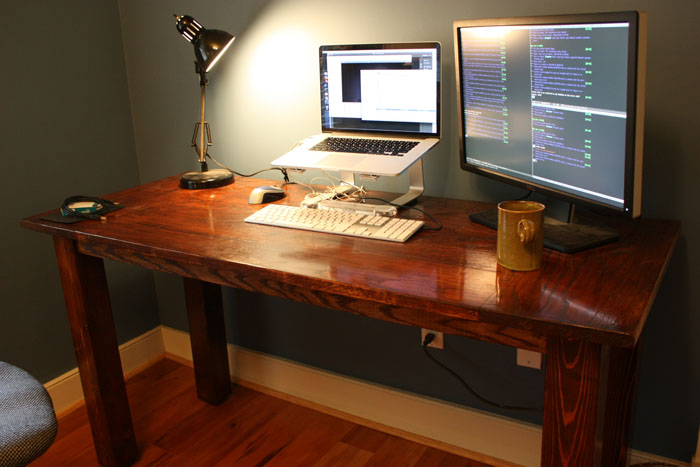
That was almost two years ago, and as of this summer, I finally finished my desk. It's exactly what I want and much cheaper too.
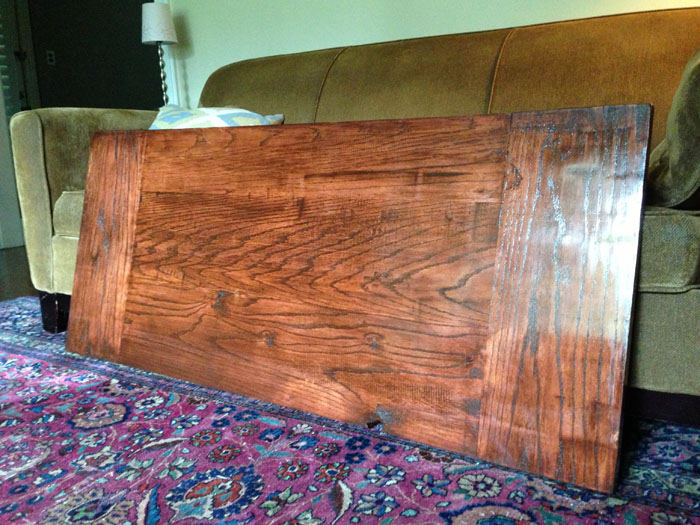
Although I started playing around two years ago, the above desk took just 2 months to make with about one night a week. The wood cost about $150, and I spent about the same on tools but I am already using them on other projects. Sure, you could go out and spend $75 dollars on something that mostly works, but I wanted a desk that I'll have for years and years, and also looks beautiful.
It's 5' long, 25" deep, and 32" tall. It came out a little taller than expected because I put feet screws in the bottom of the legs so that I could make the table even. Those screws added almost an inch. I just have to raise my chair a little bit though.
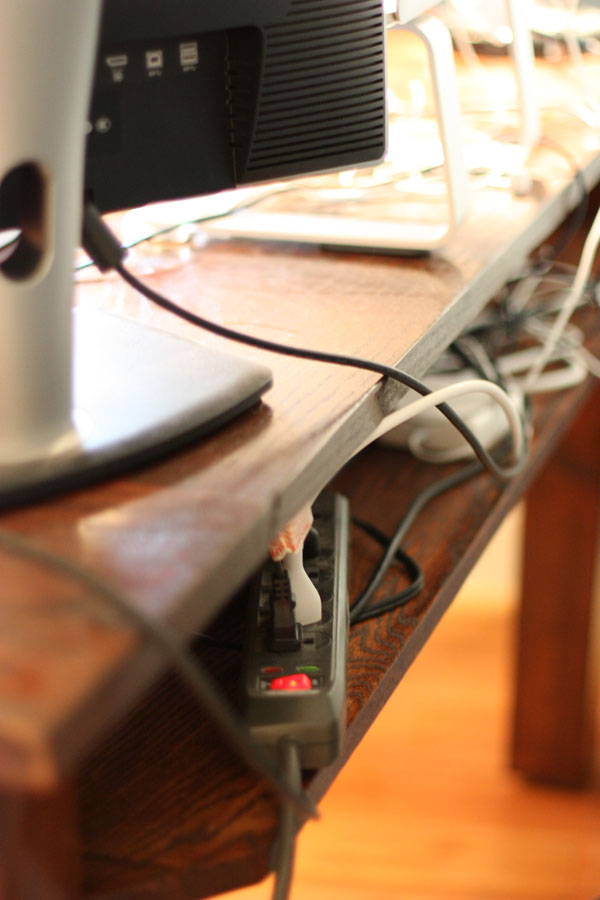
My innovation was a ledge in the back to hold all of your cords. Note in the above picture that there is only a single cord behind the desk: the power strip. Everything else is hidden.
You can do this too, with a little patience. I knew nothing about woodworking when I started. I wish I could write a full tutorial, but I don't have time. Here's a few tips:
- Oak is a good hard wood for desks. Get the lumber yard to plane the boards for you, trust me. It's extremely important that all edges are completely flat and edges are 90°.
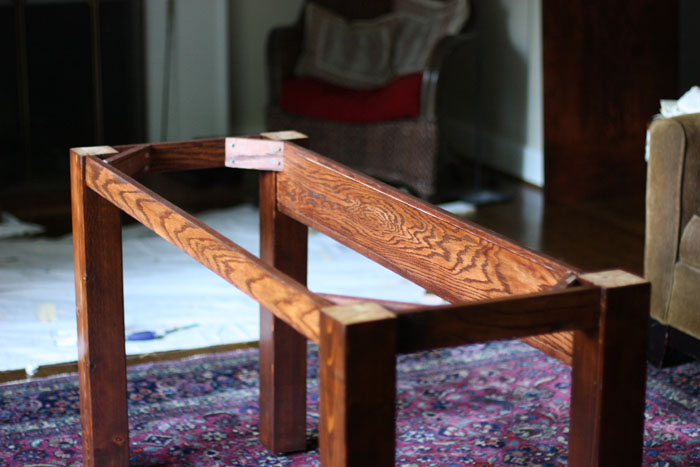
- It was surprisingly hard to find untreated 4x4s for the legs (I thought Lowes and such places had untreated, but they don't). Even at the specialty lumber yard, I could only find cedar, so my desk legs are cedar. Turns out cedar is really light though, so that's nice!
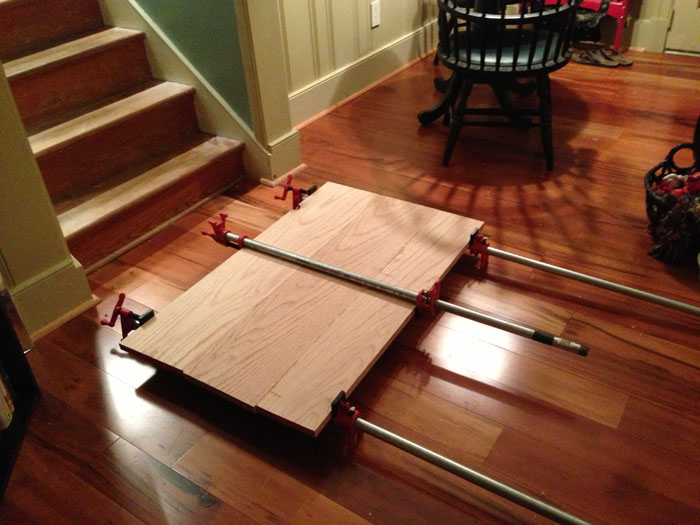
- You'll need lots of clamps. Pipe clamps are best for joining long boards together, like the desk top.
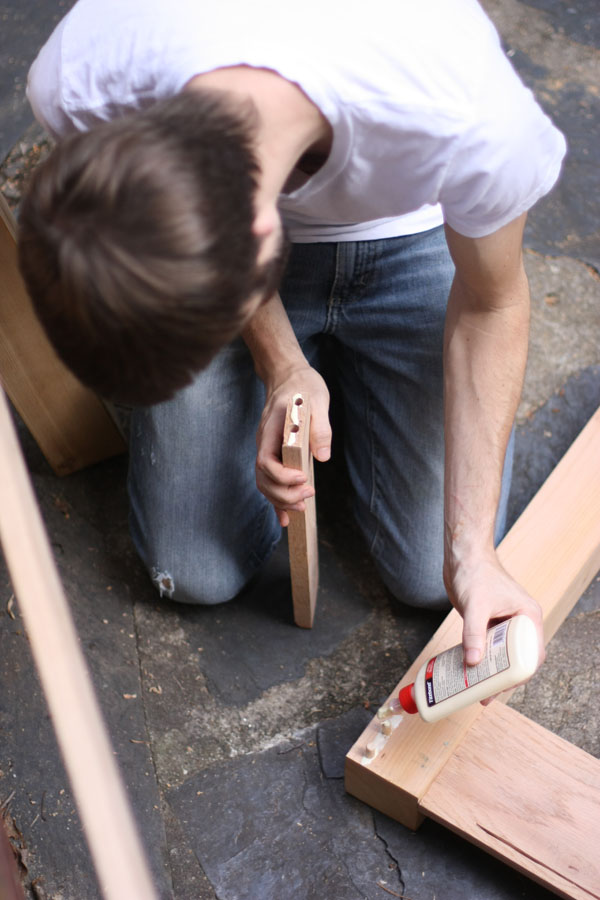
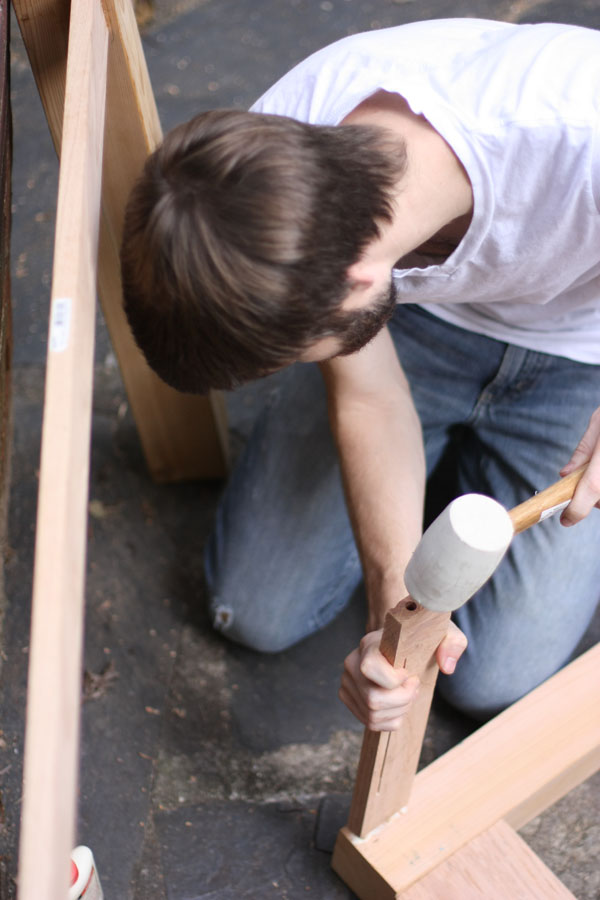
- I used dowels to strengthen joints, but I think it was more work than necessary. Dowel holes need to 100% aligned, so I had to use a doweling jig and it was just annoying. For the desk top, you can probably just use wood glue and join them (sounds crazy, but the glue really is most of the join strength). For the base, you need something, and the cheapest and easiest is probably the Kreg jig. I resisted it because it's a newer thing and I wanted to see how the old ways worked. Now I know.
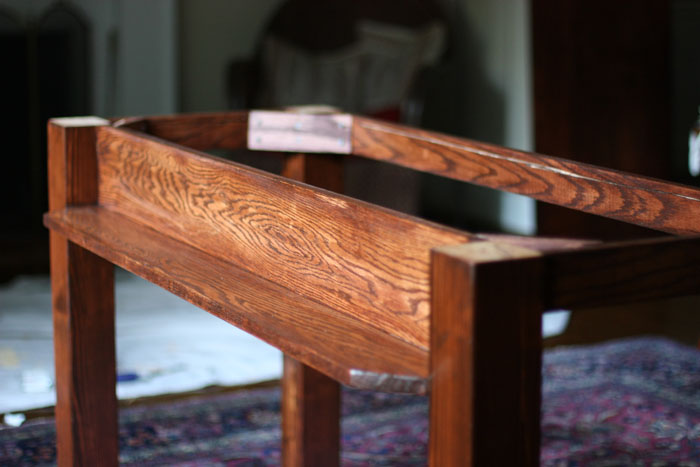
- At first I thought I could make a desk top and just put 4 legs on it. You can't. You need "aprons" to make the desk really sturdy. These are just long oak boards that connect the 4x4 legs together, establishing the base. The top sits on top and is connected to the aprons with Rockler table top fasteners (you need to cut a shallow ridge on the inside of the aprons).
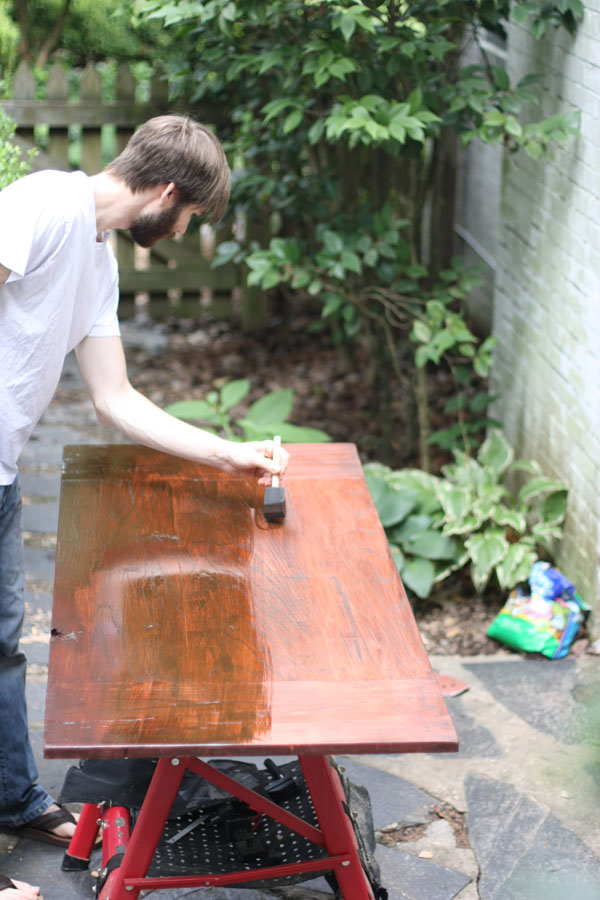
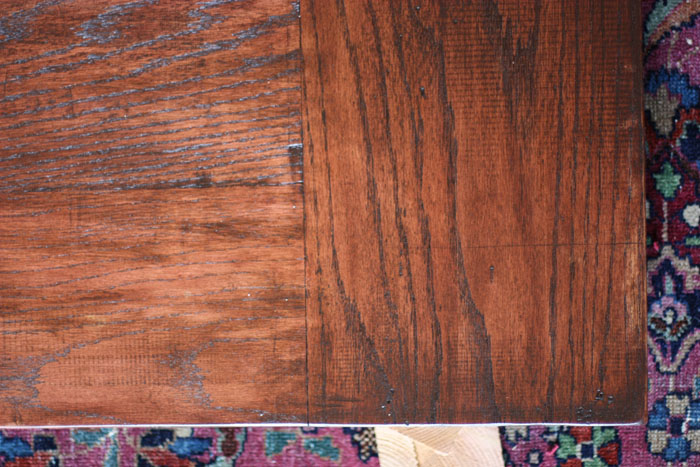
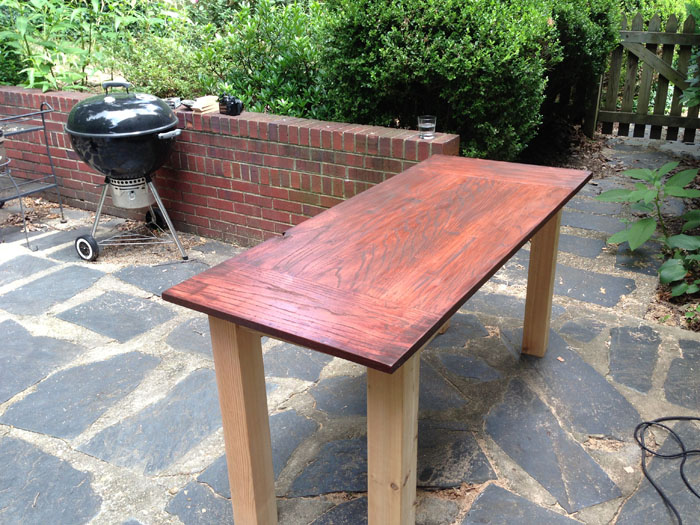
- Stains and finishes are complicated. I used a General Finish stain and Waterlox as a sealer. 2 coats of stain and 4 coats of Waterlox (it's a tung oil so it needs several).
- I also made a major mistake by staining the desk when it was hot and humid outside, and became gummy and was hard to wipe. It also took forever for the Waterlox oil to dry (about a week).
YouTube and google are your friends. I did extensive research for each step of the process. There are some great YouTube videos that show how experienced woodworkers achieve results. The Patrick Hosey Workshop: Farmhouse Table was one of my favorite videos which doesn't explain much but shows a lot of details. Feel free to contact me at longster at gmail.com if you have any questions.
I actually built 2 tables before this. I built the first one 2 years ago and it was just a butcherblock top with a steel base I constructed by drilling holes and bolting it together. It was horribly wobbly. Last winter I finally committed to building a wooden desk.
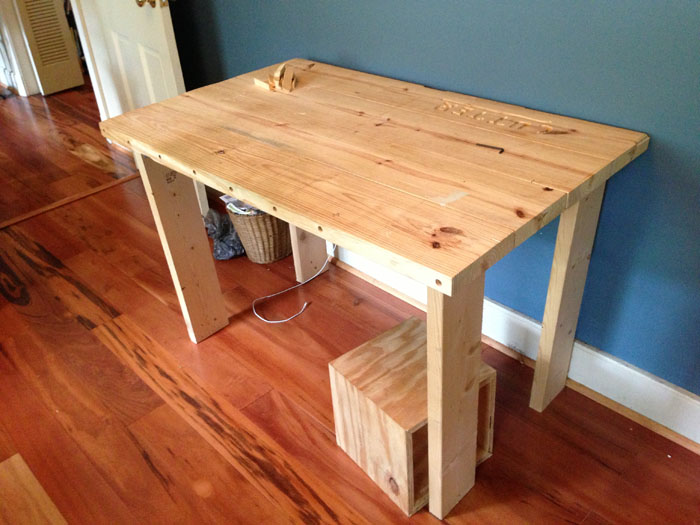
I built a desk out of cheap wood as a prototype to learn the basics. Finally, I mustered up the courage to buy nice wood and cut into it. The rest of the story is told in the pictures below. It's been a great process to start from scratch, and force myself to learn something new. For me, it's a reminder that you can achieve something if you persist. It's too easy to give up with the excuse "I don't know how to do this", but you can learn.


Make sure to contact me at longster at gmail.com if you are building your own desk. I'd love to hear about it!
 JAMES LONG
